When artists are first starting out, they usually head for whatever paint is on sale. With time, some will become dissatisfied with the selection of colors, and will begin to want colors that Rembrandt or Vermeer or Titian used in their paintings. And then they become aware that manufacturers don’t produce them because it isn’t profitable.
And there’s the rub. In order to be profitable, most commercial manufacturers of “artist-grade” colors place too much oil and too many additives (extenders, drying agents and/or stabilizers) in their paints. Additionally, they strive to give every paint product the same consistency from one color to the next.
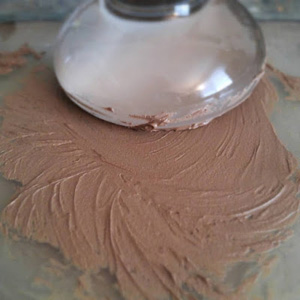
Pigments have personalities. Some are gritty while others may be as fine as dust. One may require multiple grinding sessions while another is easily incorporated with oil within an hour. Learning about any given pigment’s idiosyncrasies takes time. Lead white, for instance, requires an initial mulling and then a 3-4 day rest before mulling again with the addition of a little more oil because it will have thickened considerably.
Making paint isn’t for everyone. While it can be quite cost effective, especially for most earth or mineral pigments, it is still time consuming. And if an artist makes very large paintings, or is quite prolific, it would be way too much work without help.
But the practice of making one’s own paints is enjoying a resurgence. Making paint is soothing and meditative, much like kneading bread, fly-tieing or spinning yarn. And there is the personal satisfaction of participating in a craft that extends back in history to the cavemen.


For those interested in learning more about making oil paint, these links are a good place to start, for both supplies and instruction:
1. Paint-making instructions and demo at Sinopia.com
Another page of instructions is at NaturalPigments.com
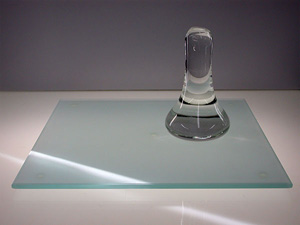
2. Order mullers and glass slabs from NaturalPigments.com
(you will need to prepare the slab with silicon carbide before making any paint.)
3. Additional pigment suppliers:
Kremer Pigments (New York)
Kama Pigments (Montreal)
Blue Ridge Oil Colors